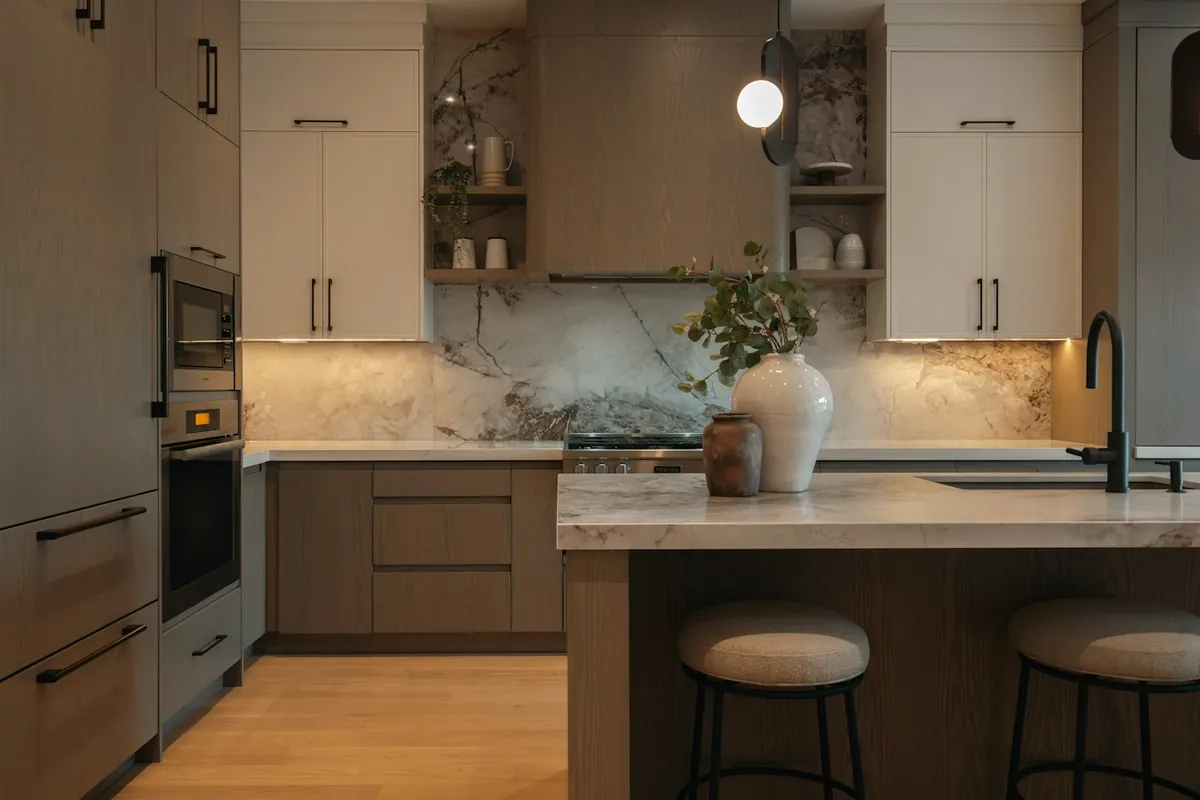
Clearances Come First, Everything Else Second
An island is defined by the space around it, not by its own dimensions. Work out the clearances first, subtract them from the room, and build the island in what remains. Doing it the other way around, picking an island size and then seeing what fits, is how kitchens end up with a beautiful slab of cabinetry that two people cannot pass around.
| Dimension | Working range | Why |
|---|---|---|
| Main working aisle | 42 to 48 inches | One cook needs 42. Two people passing, or a dishwasher and an oven door on the same aisle, needs closer to 48. |
| Secondary or seating side | 36 to 42 inches | Enough to pull a stool out and walk behind it. Below 36 the stools get pushed in permanently and the seating stops being used. |
| Seating overhang, counter height | About 12 inches | The depth of unsupported counter needed for knees at a 36 inch counter. |
| Seating overhang, bar height | About 15 inches | Taller seating puts knees further under, so the overhang grows with the height. |
| Width per seat | 24 to 30 inches | Below 24 inches people sit shoulder to shoulder and the fourth stool stops being used. |
The 42 to 48 inch range on the main aisle is not arbitrary. It is the space a person needs to stand at a cabinet with a door or a dishwasher open while somebody else gets past. In a typical Antelope Valley tract kitchen, where the original plan rarely anticipated an island at all, running those numbers honestly often shows there is room for a peninsula but not an island, and that is a genuinely useful thing to learn before you commission cabinetry.
Seating, Overhang and the Support Nobody Plans
Counter height seating at about 36 inches needs roughly 12 inches of unsupported overhang for knees. Bar height seating pushes knees further under and needs closer to 15. Allow 24 to 30 inches of width per seat, and be honest about how many seats the island will actually hold: four stools crammed into 88 inches becomes three stools in practice within a month.
The part that gets missed is support. A stone counter cantilevered 12 or 15 inches over a cabinet is carrying its own weight plus whatever leans on it, and it needs brackets, a steel flat bar, or a panel built into the cabinet to carry it. That detail sits between the cabinet shop and the counter fabricator, which is exactly why it falls between them. Agree it in writing before either one builds.
Sinks, Cooktops and the Permit Line
A plain prep and storage island is finish work. The California Residential Code lists cabinets and counter tops in the Section R105.2 list of work that needs no permit, and an island with nothing running to it stays comfortably inside that.
Add a service and that changes. A sink means relocating supply and drain, which is plumbing work. A cooktop means gas or a dedicated circuit plus ventilation, which is mechanical and electrical work. Even a single receptacle in the end panel means a new or extended circuit. All of it requires a permit, and in the Antelope Valley that runs through one of three offices depending on your address: City of Lancaster Building and Safety, Los Angeles County Public Works for unincorporated communities such as Quartz Hill and Leona Valley, or Kern County for Rosamond. The permit and licensing guide has the detail, including the City of Lancaster's published plan review timings of two to three weeks for a first submittal.
What Actually Goes Inside an Island
The waste pull out earns its place first
A concealed waste and recycling pull out is the single most useful thing an island can contain, because it takes the bin off the floor of the busiest part of the kitchen. It wants to be near the prep area rather than near the seating.
Deep drawers, not doors
An island is approached from more than one side and often from a standing position, which makes drawers considerably more useful than doors. Deep drawers for pans, one shallow drawer for utensils, and the discipline not to fill the rest with things you will forget about. Drawers do cost more than doors, which is covered on the custom cabinets page along with the other decisions that move a quote.
Open shelving at the seating end
The cabinet depth behind a seating overhang is usually unreachable anyway, so an open bookcase end, a wine rack or a display niche recovers a space that would otherwise be wasted. It is also the cheapest part of an island to build.
End Panels, Toe Kicks and the Sides Nobody Plans
An island is the only cabinetry in a house with no hidden sides, and that has three consequences people discover late.
Every side needs a finished panel. A carcase side that would be invisible in a wall run is fully on show here, so the island needs finished end panels all round, which are priced individually. Thumbtack puts finished end panels at $100 to $200 each, and an island typically needs three or four of them.
The toe kick changes by side. A recessed toe kick is right on the working sides, because you stand at them and want your feet under the cabinet. On the seating side there is no standing, so a flush or panelled base looks considerably better and stops the recess collecting crumbs where nobody is working.
The island has to be fixed to the floor. Loaded cabinetry with a stone top on it cannot simply sit there. On an Antelope Valley slab, which is usually neither perfectly level nor perfectly flat, that means levelling to the same laser datum as the rest of the kitchen, shimming, and fastening down properly. The sequence is on the cabinet installation page.
When a Peninsula Beats an Island
A peninsula attaches to an existing cabinet run at one end, so it only needs clearance on the free sides. In a room that cannot give up 42 inches on all four sides, that difference is decisive. Peninsulas also solve the electrical question more easily, because a run of cabinetry against a wall has somewhere for a circuit to come from without crossing a floor.
The trade is traffic: a peninsula creates a dead end, so it works best when the kitchen has a second way in. In a galley with one entrance, a moveable work table is frequently the honest answer, and saying so is more useful than selling cabinetry that makes the room worse.
What to Put on an Island Quote
- Finished island dimensions, and the resulting aisle clearance on every side, written as numbers.
- Counter height or bar height, with the overhang dimension that goes with it.
- The overhang support method, agreed with the counter fabricator before either party builds.
- Number of seats and the width allowed per seat.
- Every cabinet in the island listed, with doors or drawers stated per opening.
- Waste pull out size and which side of the island it sits on.
- Any receptacle, and confirmation of who is pulling the electrical permit for it.
- Finished end panels on every exposed side, since an island has no hidden sides.
- Toe kick treatment: recessed on the working sides, usually flush or panelled on the seating side.
Where to Go Next
An island is normally part of a wider kitchen job, so start from kitchen cabinets if the whole room is changing. For what the cabinetry costs at published Los Angeles County rates, see the cost guide. For how the island gets levelled and fixed down on a slab floor that is not flat, see cabinet installation. Or send the room dimensions and the town and get the clearances run properly.