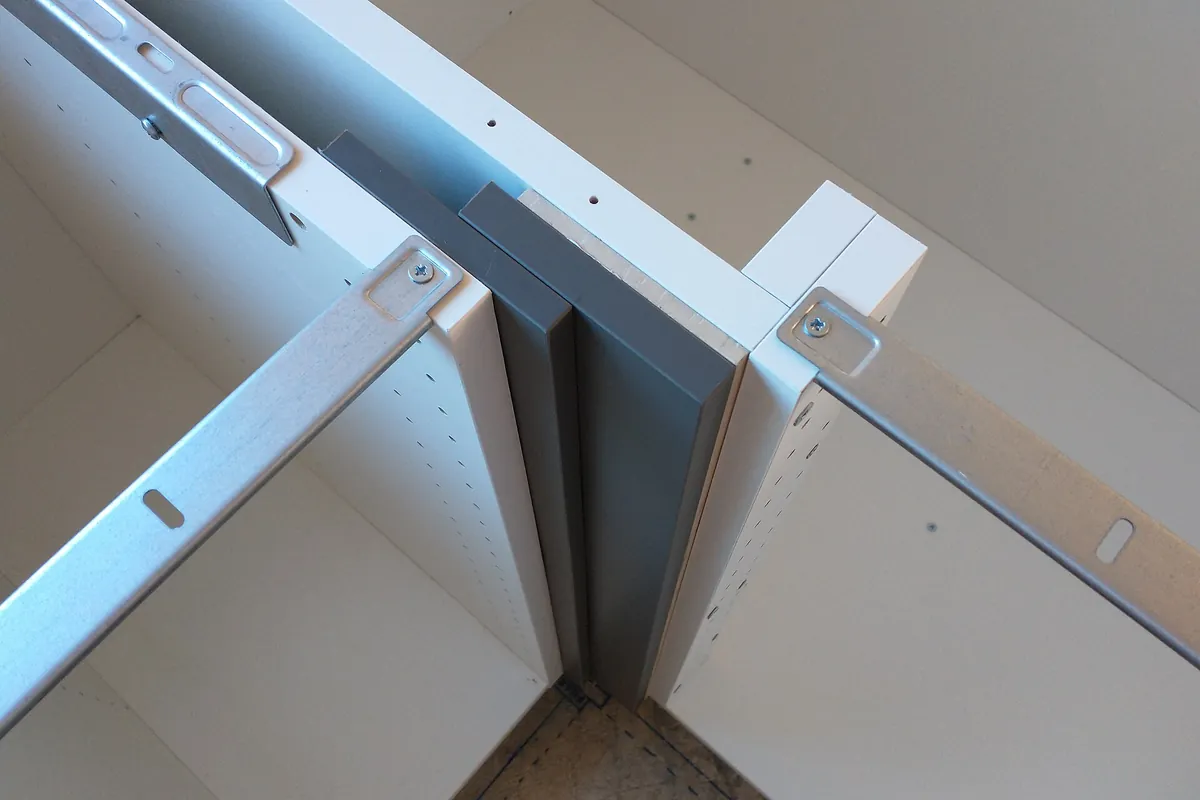
Why Installation Decides How Good the Cabinets Look
You can buy excellent cabinets and end up with a kitchen that looks wrong, and the reason is almost always installation. Cabinets are made square, flat and to consistent dimensions in a shop. Houses are not. Every visible flaw in a finished run, a door that swings closed on its own, a tapering gap where the last cabinet meets a wall, a counter that reads crooked against a window sill, is a room defect that installation either absorbed or passed through.
The Antelope Valley makes this more relevant than it would be elsewhere. Lancaster incorporated on 22 November 1977 and grew through the decades when tract construction was the default, and Palmdale expanded hard through the 1980s and 1990s as affordable housing pulled commuters north from Los Angeles. Houses built quickly at volume produce framing that is fast rather than perfect. That is not a criticism of the houses, it is a fact about the walls an installer will meet, and it is why a survey happens before anything comes off the truck.
The Correct Sequence, and Why It Is That Order
Six stages, and the order is not preference. Each one depends on the last.
- 1Survey the room before a single box comes off the truck
Find the high point of the floor, check every wall for plumb and for bow, confirm ceiling and soffit heights at both ends of each run, and locate every stud, pipe and cable. Antelope Valley tract framing is fast framing: out of plumb walls and floors that fall toward a slab edge are the norm rather than the exception, and every one of them has to be known before layout lines go on the wall.
- 2Strike a level datum line
A laser line is struck around the room from the highest point of the floor, and every cabinet is set to that line. Cabinets are never levelled off the floor, because the floor is not level; if you follow the floor, the counter follows it too and the whole run reads crooked against the window sills and the ceiling.
- 3Hang the uppers first
Uppers go on before bases so there is room to work under them. They are hung from a temporary ledger or a support rail, fastened through a solid back or a reinforced hanging rail into studs, not into drywall anchors, and joined to each other face frame to face frame so the run behaves as a single assembly.
- 4Set, shim and scribe the bases
Bases are levelled to the datum with shims, joined to each other, then scribed where they meet a wall that is not straight. A scribe is a thin cut taken off the cabinet or the filler so the joint closes cleanly against a bowed wall. It is skilled, slow work, and it is the visible difference between a fitted kitchen and an approximate one.
- 5Fit fillers, panels, toe kicks and trim
Filler strips close the gaps at walls and at appliances. Finished end panels cover exposed carcase sides. Toe kicks run continuous and level. Crown, light rail and scribe moulding go on last. This stage is where a run stops looking like separate boxes.
- 6Hang and adjust every door and drawer, twice
Concealed hinges adjust in three directions and slides adjust in two, and every one of them needs setting until reveals are even top to bottom and side to side across the whole run. Then it gets checked again after the counters go on, because a stone counter being set can move a base cabinet by a fraction and a fraction is visible in an eighth inch reveal.
Setting to a Datum, Not to the Floor
Every cabinet in the room gets set to one laser line struck from the highest point of the floor, then shimmed down to meet it. This is the single most important decision in an installation and the one most often skipped when a job is being rushed.
The logic is simple. If the floor falls half an inch across a twelve foot run, and you level each cabinet to the floor beneath it, the top of your run falls half an inch too. The counter follows it. The uppers are then set relative to the counter, so they follow it as well. And then the whole assembly sits at an angle to the window sills, the door casings and the ceiling, which are the reference lines a human eye actually uses. Nobody sees a floor slope. Everybody sees a counter that is not parallel to a window.
Scribing: the Skill That Separates Installers
A scribe is a cut taken along a cabinet edge or a filler strip so it follows the real profile of a wall rather than assuming the wall is straight. You mark it by running a compass or a scribing tool along the wall with the point tracing the surface and the pencil marking the cabinet, then you cut and fit to that line.
It is slow. On a long run with a bowed wall it can take a skilled person a good part of an hour per joint. It is also the first thing dropped when a schedule slips, and the result is the tapering gap you see at the end of many kitchen runs, usually filled with a bead of caulk that cracks within a year. Ask whether the quote includes a scribe allowance. A quote that has priced it has thought about your walls.
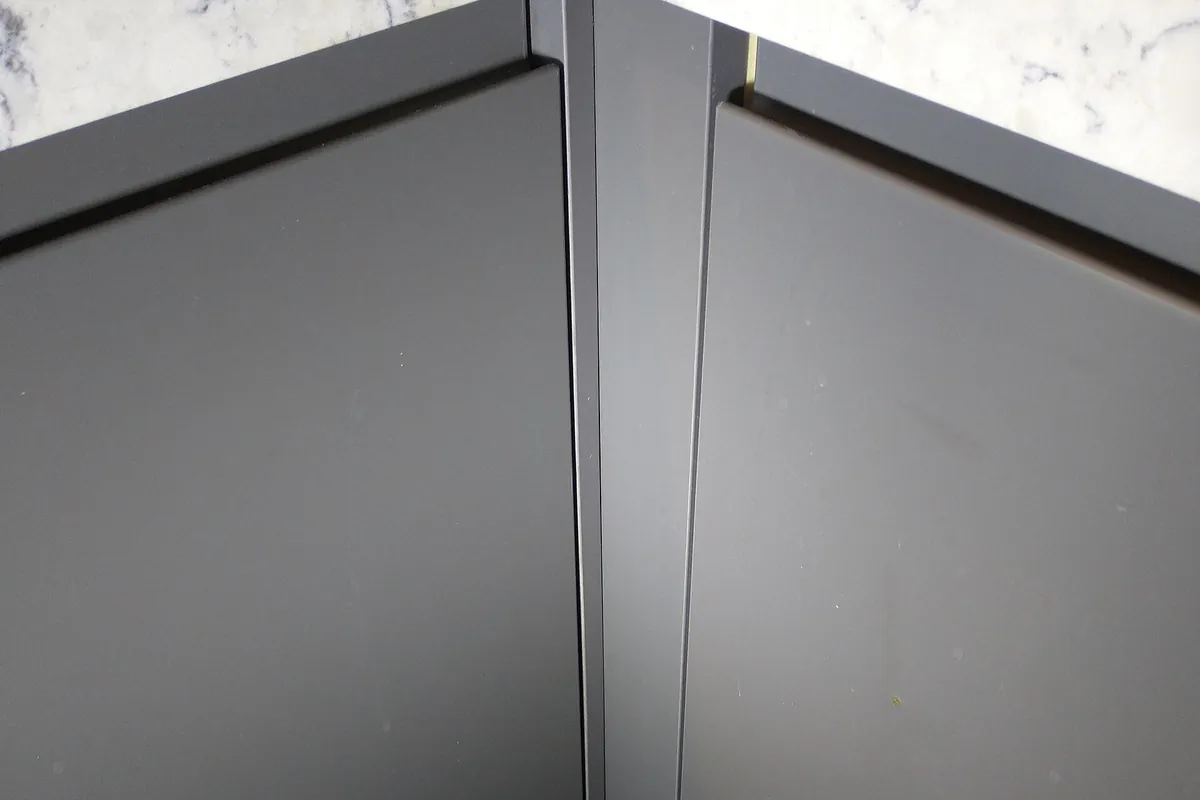
Six Room Problems and What an Installer Does About Each
| Condition | What it does if ignored | The fix |
|---|---|---|
| Wall out of plumb | Uppers lean, doors swing open or closed on their own | Shim the carcase plumb and scribe the filler to the wall |
| Wall bowed in the middle | A gap that opens and closes along a long run | Scribe the end cabinets and fillers to the bow; never force the run straight |
| Floor falling to a slab edge | Counter reads crooked against the window sill | Set everything to a laser datum from the floor's high point and shim down |
| Soffit heights inconsistent | Uppers cannot all reach the soffit | Scribe moulding, or a consistent reveal deliberately left and trimmed |
| Drain proud of the wall | Sink base will not push back to the wall | Notch the carcase back, or build the base shallower by design |
| Studs not where expected | Nothing solid to fasten an upper run into | Locate and map every stud before layout; add blocking where a run needs it |
None of these is unusual and none of them is a disaster. What makes them expensive is discovering them after the cabinets have been ordered, because the fix for several of them is a filler or a panel that was never on the list. This is the argument for a survey before the order rather than before the installation.
What Cabinet Installation Costs
Cabinet installation labour runs about $50 to $70 per linear foot on Thumbtack's national data, and a typical whole installation job lands between $482 and $2,167. Three different units get used for the same work, which is why quotes look incomparable until you check the label: an hourly or per linear foot labour rate, a flat figure per cabinet box, or an installed cost per linear foot that folds the cabinets in with the fitting. The table separates them.
| Line item | Figure | Source |
|---|---|---|
| Installer labour, per linear foot | $50 to $70 | Thumbtack |
| Installed cost per linear foot, stock | $75 to $400+ | Thumbtack |
| Installed cost per linear foot, semi custom | $150 to $900+ | Thumbtack |
| Installed cost per linear foot, custom | $500 to $1,400+ | Thumbtack |
| Typical installation job | $482 to $2,167 | Thumbtack |
| Average installation job | About $1,044 | Thumbtack |
| Box installation, per cabinet | About $100 | Thumbtack |
| Old cabinet removal and disposal | About $300 | Thumbtack |
| Crown molding, per 8 ft section | About $70 | Thumbtack |
| Finished end panel, each | $100 to $200 | Thumbtack |
All figures are Thumbtack national data. The three tier rows are installed cost per linear foot, cabinets and fitting together, not labour alone and not a price per cabinet. Labour typically accounts for 20 to 30 percent of a whole cabinet project.
Thumbtack's worked example for a standard kitchen is a total just under $5,000, made up of about $900 of installation on top of about $4,000 of cabinets. That is a national stock or semi custom figure rather than a Lancaster custom one, but the ratio it implies is the part worth carrying into your own quote.
Custom installation costs more per linear foot than stock for real reasons rather than for positioning: custom units are heavier, they vary in size across a run so each one is set individually, and far more of them meet a wall that needs scribing. Full cost context including cabinetry itself is on the Lancaster cost guide.
Fastening, Blocking and the Things Behind the Drywall
Wall cabinets carry a lot of weight once they are loaded, and they carry it in shear on whatever holds them to the wall. That has to be framing. Screws through a hanging rail into studs, not drywall anchors, and where a run does not line up with studs, blocking gets added. In a remodel that usually means opening a small section of drywall, which is a two hour job before the cabinets go up and an unpleasant one afterwards.
The same applies to a wall hung vanity or a floating shelf. If you are planning either, decide it before the drywall closes, because the blocking that makes it safe has to go in first. That point is made again on the bathroom vanities page for the same reason.
What to Check Before You Sign It Off
- Reveals: every gap between doors the same width, top to bottom and along the run.
- Faces: sight along the front of the run from one end. It should be straight.
- Doors: every one opens fully, closes softly and does not swing on its own, which would mean an out of plumb carcase.
- Drawers: full extension, no rubbing, no collision with an adjacent handle at the corner.
- Toe kick: continuous, level and tight to the floor with no daylight behind it.
- Fillers and panels: no tapering gap at any wall, and no caulk doing a scribe's job.
- Fasteners: uppers fixed into framing, not into drywall anchors. Ask, and ask where the blocking went in.
- Interiors: shelf pins present, shelves supplied, and nothing left unfinished that was quoted as finished.
- Hardware: every handle aligned to the same setting out, checked across a run rather than per door.
Permits and Licensing for Installation in Lancaster, CA
Installing cabinets in the same footprint is exempt finish work under California Residential Code Section R105.2, which lists cabinets and counter tops explicitly. The permit obligation comes from the work around it: moving a sink is plumbing, relocating a gas line is mechanical, and adding circuits or under cabinet lighting on a new circuit is electrical. Which office you deal with depends on the address, because the Antelope Valley is split between the City of Lancaster, the City of Palmdale, Los Angeles County Public Works for unincorporated communities, and Kern County for Rosamond.
On the licensing side, Business and Professions Code section 7048 exempts unlicensed work only below $1,000 in aggregate contract price where the work is casual, minor or inconsequential and requires no building permit. A cabinet installation is past that, so ask for the Contractors State License Board number and check it. Details and statutory wording are on the permit and licensing guide.
Where to Go Next
If you have not bought cabinets yet, start with custom cabinets or kitchen cabinets. If you are keeping the boxes, refacing removes most of the installation work entirely. For how long the whole sequence takes, see the timeline guide. Outside the city, the service area page lists every Antelope Valley town covered, or send the town and the cabinet list.