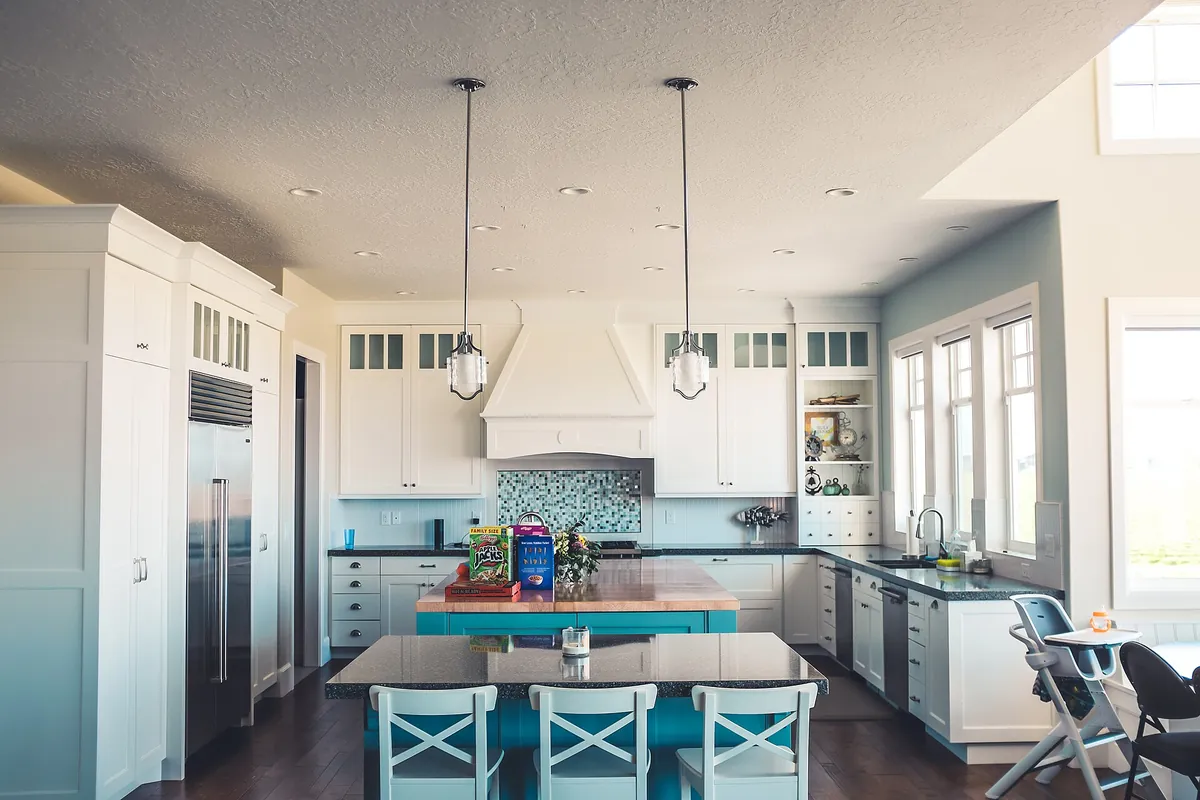
The Six Problems Built Into Antelope Valley Tract Kitchens
Almost every kitchen complaint in Lancaster traces back to one of six design decisions made once by a builder and lived with ever since. Lancaster incorporated on 22 November 1977 and grew through the decades when tract construction was the default, and Palmdale, incorporated in 1962, expanded hard through the 1980s and 1990s as affordable housing drew commuters north out of Los Angeles. The result across the two cities is around 340,000 people living in kitchens built to a small number of repeated floor plans.
Here is the list, with what each one actually does to you and what a rebuild does about it.
| Problem | What it feels like | The fix |
|---|---|---|
| Blind corner | Reaching past a fixed shelf into a void | A pull out corner unit, a lazy Susan, or turning the corner into a dead panel and gaining a drawer bank elsewhere |
| No pantry | Dry goods spread across three uppers | A tall pantry cabinet, or converting an adjacent closet with adjustable shelving |
| Filler strips | Two to four inches of dead wall covered in trim | Building base and upper widths to the measured wall instead of to catalogue increments |
| Doors where drawers belong | Kneeling to find a pan at the back of a base | Three drawer bases under the cooking zone, which is the single most requested change |
| Wasted space over the refrigerator | A shallow cupboard nobody can reach | A full depth cabinet with vertical tray dividers, sized to the actual fridge |
| Upper cabinets stopping short | A dust shelf above the doors | Running uppers to the ceiling, or adding a stacked glass tier |
None of these is a materials problem and none of them is solved by a better door. They are dimensional problems, which is precisely why building to measured wall dimensions solves them and buying a better catalogue does not. The custom cabinets guide explains the three inch increment problem that creates the filler strip in the first place.
What Kitchen Cabinets Cost in Lancaster, CA
Custom kitchen cabinetry runs $500 to $1,500 per linear foot in the Los Angeles market, against a national range of $400 to $1,200, according to the Los Angeles pricing guide published by Bradco Kitchens and updated on 10 July 2026. Lancaster is in Los Angeles County so that band is the closest published benchmark, while Antelope Valley labour generally sits below basin rates. Measure along the wall, not around the room, and not through the sink or range openings.
| Kitchen size | Cabinetry at LA rates | Typical Antelope Valley layout |
|---|---|---|
| 15 linear feet | $7,500 to $22,500 | Galley or small L in a two bedroom or a condo |
| 25 linear feet | $12,500 to $37,500 | The common tract kitchen with an island |
| 35 linear feet | $17,500 to $52,500 | Larger L or U with an island and a pantry wall |
| 50+ linear feet | Over $75,000 | Open plan with a butler's pantry or second prep run |
Labour typically accounts for 20 to 30 percent of the total. Counters, appliances and electrical are separate.
Thumbtack's national data gives the other useful cut, by material for a standard kitchen: solid wood $5,000 to $25,000, wood veneer $1,900 to $13,000 and laminate $4,000 to $15,000. Its installation figures put installer labour at $50 to $70 per linear foot and a typical whole installation job at $482 to $2,167, average about $1,044, with installed cost per linear foot of $75 to $400 and up for stock, $150 to $900 and up for semi custom and $500 to $1,400 and up for custom. Its worked example for a standard kitchen is a total just under $5,000, about $900 of installation on top of about $4,000 of cabinets. The cost guide carries the add-on line items: crown at about $70 per eight foot section, finished ends at $100 to $200 each, and old cabinet removal at around $300.
What Each Part of a Kitchen Should Be Made Of
Different cabinets in the same kitchen do different jobs, and specifying one material for all of them is how quotes get both expensive and wrong. Here is the honest allocation.
| Location | Material | Why |
|---|---|---|
| Sink base | Plywood | The only cabinet in the kitchen that is repeatedly, predictably exposed to water. |
| Base runs and uppers | Plywood or particleboard | Both are stable in dry Antelope Valley air. Joinery method and hardware matter more. |
| Painted door cores and routed fronts | MDF | Machines cleanly and takes paint better than anything else. Heavy, and it hates water. |
| Door frames, face frames, mouldings | Solid lumber | Strong and beautiful. It also moves the most, which is why panels float inside frames. |
The one non-negotiable is the sink base. Everything else in a Lancaster kitchen lives in air that averages 6.81 inches of rain a year, which is about as benign as it gets for sheet goods. The sink base lives under a water supply, a drain and usually a dishwasher hose, and it is the cabinet that fails first in every house.
Why the Dry Air Matters More in a Kitchen Than Anywhere Else
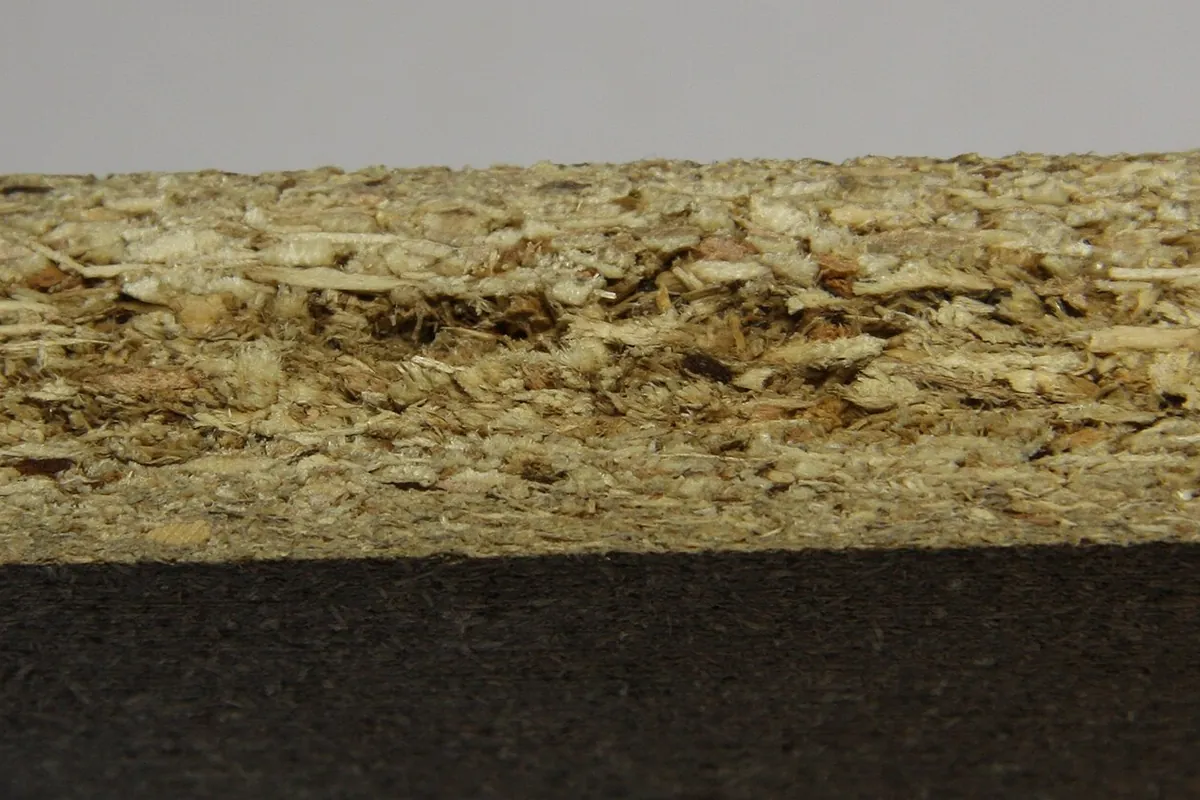
A kitchen holds more square feet of finished wood surface than any other room in the house, so it shows movement first. The USDA Forest Service Wood Handbook publishes recommended interior moisture content in three zones: an average of 8 percent across most of the United States, 11 percent in damp warm coastal areas, and 6 percent in the dry southwestern area, where individual pieces should sit between 4 and 9 percent. Lumber for furniture, cabinets and millwork is typically dried to 7 to 9 percent.
Lancaster records 6.81 inches of precipitation in an average year at the NOAA station at General William J. Fox Airfield, at 2,359 feet elevation, with a mean daily maximum of 77.1F and a mean daily minimum of 47.1F. The Handbook's own equilibrium moisture content table shows Los Angeles sitting between 12.1 and 15.1 percent across the year. Cabinets built for that and installed in this lose width, and they take it out of the glue lines. The practical answers are floating centre panels, stable cores and generous grooves, all of which are described in the materials guide.
Designing the Layout Before Designing the Cabinets
Work distances come first
The useful questions are how far it is from sink to range, whether the refrigerator door opens into a walkway, and whether somebody can pass behind a person loading the dishwasher. In a typical Antelope Valley tract kitchen the answer to the last one is no, and the reason is usually that the island was placed to fill the floor rather than to leave an aisle. Aisles around an island generally need 42 to 48 inches to work for two people, which is a constraint on island size rather than a target for it.
Then decide doors versus drawers
Every base cabinet is a choice between a door and a drawer bank. Doors are cheaper and hold tall things. Drawers cost more and put everything within reach without kneeling. The usual right answer is drawers in the cooking zone, doors where you store something tall like sheet trays or a stand mixer, and one deep drawer for pans regardless. This decision sets a large share of the final price, which is a good reason to make it consciously at the drawing stage.
Then the tall wall
Finding a wall for tall storage is what turns a rebuilt kitchen into a different kitchen. A full height pantry, an oven tower or a combination of both replaces the wall of low value uppers that most tract plans put there. If there is no wall for it, a neighbouring closet often converts well, which is covered on the closets and pantry cabinets page.
Islands, Peninsulas and the Thing People Get Wrong
The mistake is sizing the island to the floor rather than to the aisles. An island that leaves 36 inches on one side and 30 on another looks generous in a drawing and functions badly in life, particularly in a kitchen where a dishwasher door and an oven door both swing into the same space. A smaller island with proper clearance beats a larger one every time. Seating overhangs, outlet placement in the end panel, and whether the waste pull out lives in the island or in the run are all decisions worth making early, and they are covered in detail on the kitchen islands page.
What to Put on the Drawing Before Anything Gets Cut
- Every cabinet numbered, with a width, height and depth in inches, taken from field measurements.
- Carcase material stated per cabinet, with plywood called out at the sink base.
- Door style, overlay type and reveal dimension, so every door is sized to the same rule.
- Finish schedule: sealer, colour coats, topcoat, and how many of each.
- Hinge and slide type by function, not by marketing name. Soft close and full extension should be stated.
- Interior fittings listed per cabinet: waste pull out, tray dividers, roll outs, corner mechanism.
- Appliance model numbers, so the openings are built for what you actually bought.
- Who removes and disposes of the old kitchen, and whether that sits inside or outside the quoted number.
- A scribe allowance, because no Antelope Valley tract wall is straight and pretending otherwise costs money later.
How a Kitchen Cabinet Job Runs
Six stages, in this order, every time. The timeline guide explains what sets the length of each one.
- 1Walk the kitchen and list what fails
Before anything gets measured, work out what the room does badly: where you run out of counter, what you have to move to reach the pans, what lives on the floor because nothing fits it. A kitchen gets rebuilt to fix behaviour, not to change colour, and the behaviour list is what stops a new kitchen repeating the old one's mistakes.
- 2Measure walls, appliances and services
Wall lengths at counter height and at upper height, because they are often different. Ceiling and soffit heights at both ends of every run. Window sill and trim positions. Appliance model numbers, not categories, since a 30 inch range and a 30 inch slide in range need different clearances. Then the drain, the gas stub and every circuit.
- 3Design the layout, then the cabinets
Work distances first: sink to range, range to refrigerator, and whether two people can pass behind somebody at the dishwasher. Aisle widths of 42 to 48 inches around an island are the normal working range. Only once the layout holds does it make sense to decide which openings are doors and which are drawers.
- 4Specify boxes, doors, finish and hardware
Carcase material per location, with plywood at the sink base. Door style and overlay. Finish schedule. Hinges and slides by type rather than by brand slogan. Interior fittings: waste pull out, tray dividers, roll outs, corner solution. All of it on the drawing before a sheet is cut.
- 5Build, finish and cure in the shop
Carcases assembled and checked square on the diagonal, doors made with floating centre panels, everything sprayed in a controlled space under the Antelope Valley Air Quality Management District coating limits, then left to cure. A kitchen is not delivered the day it is sprayed.
- 6Install, then adjust everything twice
Uppers first off a laser line, then bases levelled and scribed, then fillers, panels and toe kicks, then counters, then doors and drawers hung and adjusted. Come back after a week and adjust again, because the house and the cabinets will have settled against each other.
Where to Go Next
If the boxes are sound and the layout already works, refacing may be the cheaper right answer, and the refacing versus replacing guide gives you six tests to run yourself. If you only want new doors on existing carcases, see cabinet doors and drawer fronts. If the cabinets are already bought and you need them fitted properly, see cabinet installation. And if you are outside the city, the service area page lists every Antelope Valley town covered and which building department has jurisdiction over it. When you want a real number, send the room and the town.